I used to think making wreaths was complicated and required some kind of secret floral design knowledge. Then I made one last year and realized it’s basically just hot gluing stuff to a circle until it looks cute.
Now I have three wreaths in my apartment – one on my door, one above my fireplace, and one in my bedroom – and people keep asking where I bought them. The satisfaction of saying “I made it” never gets old.
Here’s everything I learned so you can make your own without the trial and error.
Why Make Your Own Wreath?
It’s cheaper – Store-bought wreaths that actually look good cost $50-100+. DIY versions cost $15-30.
It’s custom – Match your exact color scheme and style.
It’s easier than you think – Most wreaths take 30 minutes to an hour.
It’s reusable – Many elements can be saved and reused next year.
It’s actually fun – Put on a Christmas movie and make a wreath. Very therapeutic.
Basic Supplies You’ll Need
Wreath base: Grapevine, foam, wire, or straw wreath form (craft stores, $3-8).
Hot glue gun and lots of glue sticks – Your main tool. Get the high-temp kind.
Floral wire – For attaching heavier items.
Ribbon – For bows and hanging.
Your decorations – Whatever style you’re going for.
Wire cutters – If using floral wire.
That’s honestly it for basics. Everything else is just the fun decorative stuff.

Easy Wreath Ideas
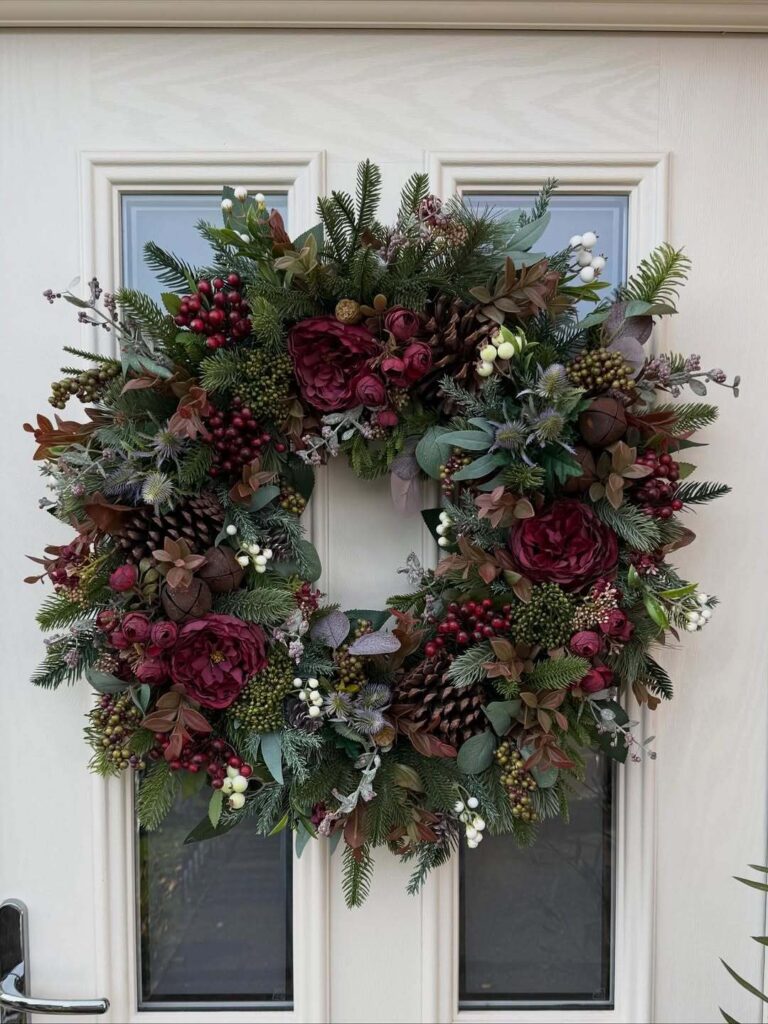
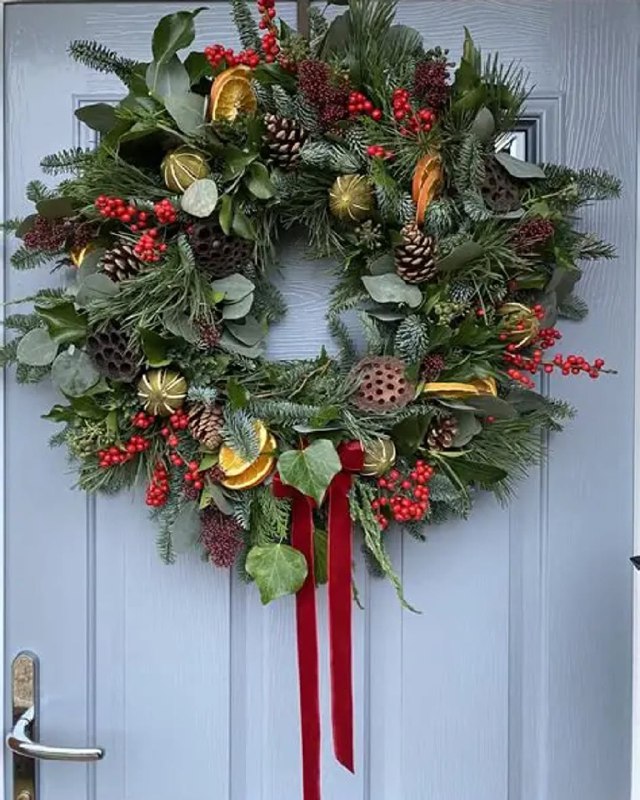
The Classic Greenery Wreath
Traditional and timeless.
Materials: Fresh or faux evergreen branches, pinecones, red berries, ribbon.
How: Attach greenery to the base (hot glue or wire), add pinecones and berries throughout, finish with a big bow.
Pro tip: Layer different types of greenery (pine, fir, cedar) for depth and texture.
Fresh vs. faux: Fresh smells amazing but lasts 2-3 weeks. Faux lasts forever and you can reuse it.

The Ornament Wreath
So much easier than it looks.
Materials: Foam wreath base, tons of Christmas ornaments (various sizes), ribbon.
How: Hot glue ornaments all over the wreath base, filling in all gaps. Start with large ornaments, fill gaps with medium, then small ones.
Color schemes: All silver, all gold, traditional red and green, pastels, or rainbow.
Budget tip: Dollar store ornaments work perfectly for this.
I made one with silver and white ornaments and it’s so sparkly and pretty. Cost me maybe $20 total.

The Ribbon Wreath
No greenery needed.
Materials: Straw or foam wreath base, lots of ribbon (4-6 different patterns/colors), pins or hot glue.
How: Cut ribbon into strips, tie or glue around the wreath, layer until it’s completely covered.
Style: Mix patterns (plaid, stripes, solids) in your color scheme.
Add: Small ornaments or bells tucked into the ribbon.
The Minimalist Wreath
Less is more.
Materials: Simple grapevine wreath base, one statement element (large bow, single floral stem, small sign).
How: Leave the wreath mostly bare, add your one focal point.
Why it works: Modern, clean, lets the natural wreath shine.
Best for: People who don’t like busy decor.
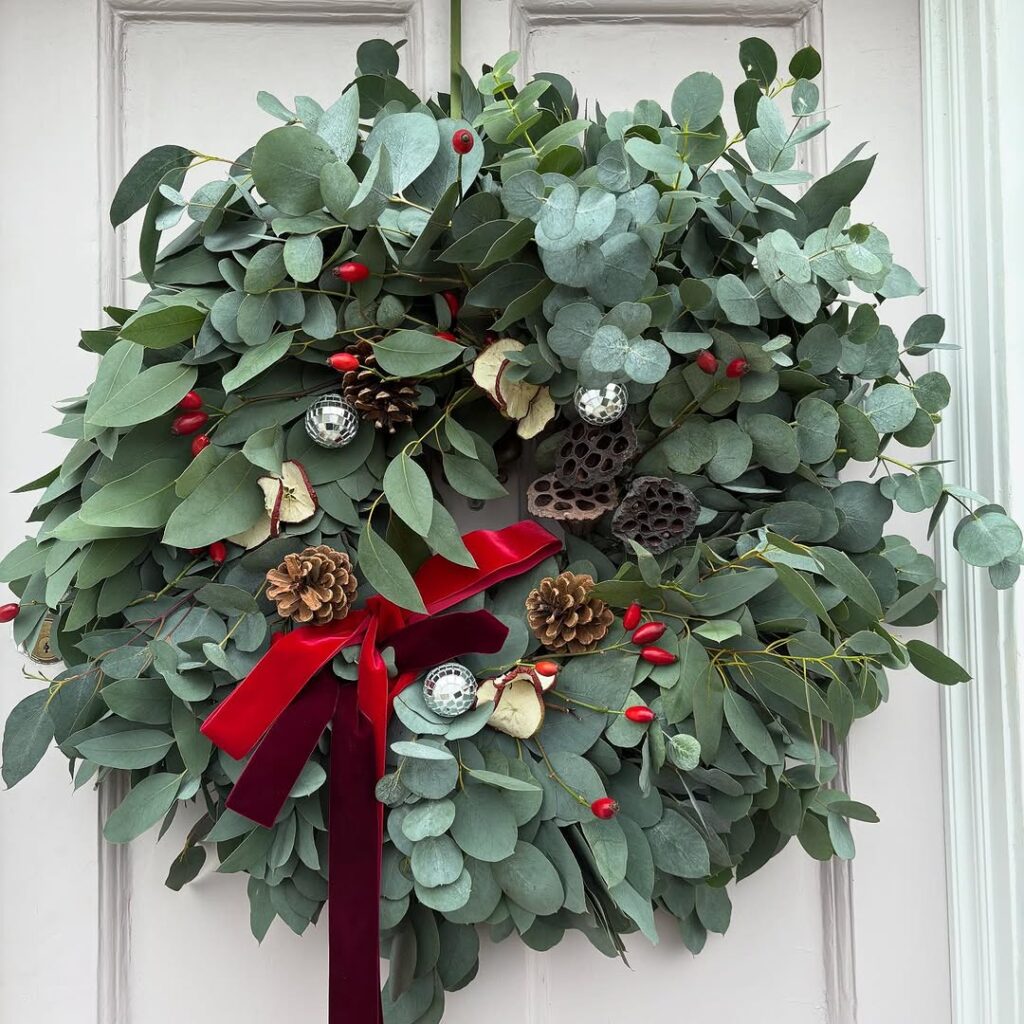
The Eucalyptus Wreath
Elegant and modern.
Materials: Grapevine base, eucalyptus stems (fresh or faux), simple ribbon.
How: Attach eucalyptus around the wreath, keep it natural and flowing, add a simple ribbon.
Colors: The silvery-green looks beautiful with white, cream, or soft pink ribbon.
Bonus: Fresh eucalyptus smells amazing.
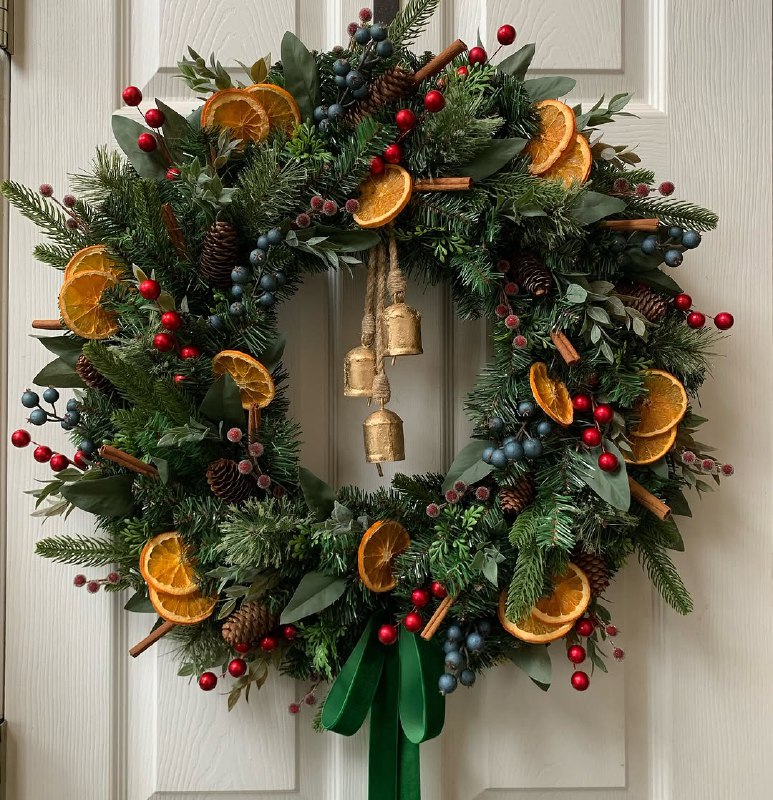
The Rustic Farmhouse Wreath
Cozy and warm.
Materials: Grapevine base, burlap ribbon, buffalo check bow, natural pinecones, maybe some cotton stems.
Colors: Stick to neutrals, reds, and blacks.
Style: Asymmetrical, natural, not too perfect.
Add: Small wooden sign, jingle bells, or cinnamon sticks.
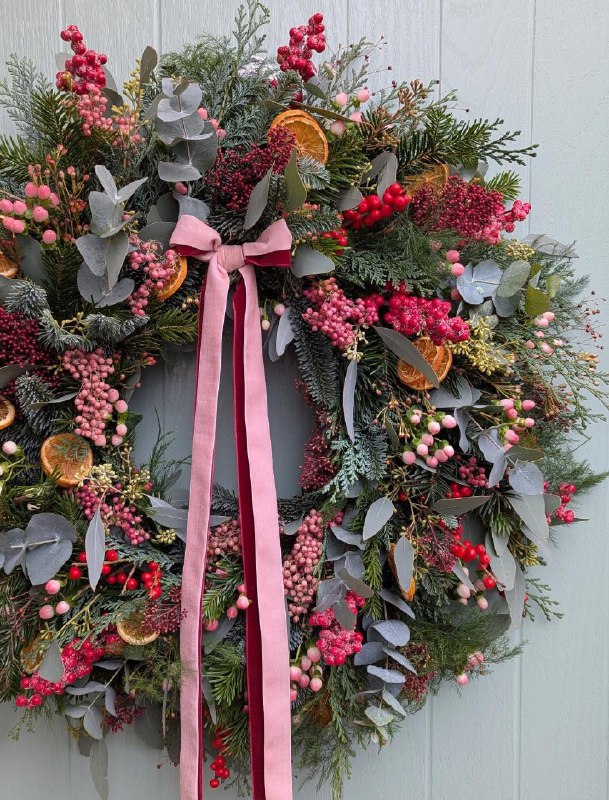
The Winter Floral Wreath
Not specifically Christmas but winter beautiful.
Materials: White or light-colored faux flowers, silver or white berries, soft greenery, white or silver ribbon.
Colors: Whites, silvers, pale blues, soft greens.
Vibe: Elegant, wintery, works from December through February.

The Pinecone Wreath
Natural and textured.
Materials: Lots of pinecones (various sizes), wreath base, spray paint optional.
How: Hot glue pinecones all over the base, layering them for fullness.
Variations: Leave natural, spray paint white or gold, or mix painted and natural.
Add: Simple ribbon and maybe some faux berries.
Quick Assembly Tips
Start with the greenery/base layer – Cover your wreath form first if you’re using greenery.
Work in sections – Don’t try to do the whole wreath at once. Work around in sections.
Add focal point – Put your bow or main element first, then build around it.
Layer, layer, layer – Don’t be shy. Overlap elements for a full, professional look.
Step back often – Look at it from a distance to check for bare spots or balance.
Hot glue is forgiving – If you don’t like something, you can usually pull it off and reposition.

Making the Perfect Bow
This intimidated me at first but it’s actually easy:
Method: Make a loop, twist, make another loop on the other side, keep going until you have 4-6 loops on each side.
Secure: Wrap floral wire around the center tightly.
Fluff: Adjust loops to make them full and pretty.
Attach: Use the excess wire to attach to your wreath.
Watch one YouTube video – Seriously, one video tutorial and you’ll get it.
Budget-Friendly Tips
Dollar store supplies – Ornaments, ribbon, picks, and sometimes wreath bases.
Forage from nature – Pinecones, branches, berries (if you have access).
Post-Christmas clearance – Buy supplies for next year at 75% off in January.
Reuse last year’s – Take apart old decorations and use the pieces.
One statement element – Splurge on one nice ribbon or special ornament, fill the rest with cheap stuff.
Keep it simple – You don’t need 47 different elements. A few things done well looks better.
My most expensive wreath cost $30 and my cheapest was maybe $12. Both look great.
Where to Hang Your Wreaths
Front door – The classic location. Use an over-the-door hanger.
Interior doors – Bedroom doors, bathroom doors, anywhere you want Christmas vibes.
Above mantle – Hang horizontally as a focal point.
Windows – Hang in front of windows (looks pretty from outside too).
Wall gallery – Mix different sized wreaths together.
Over mirrors – Hang a wreath over a mirror for a layered look.
I have one on my front door and one hanging above my couch. Adds festive vibes without taking up surface space.
Storing Your Wreath
Plastic storage bags – Get wreath-specific storage bags to keep them protected.
Save the box – If you bought a wreath base in a box, save it for storage.
Hang it up – In a closet or storage area, hang wreaths to keep their shape.
Take care – Spent an hour making it, spend two minutes storing it properly.
My wreaths from last year are still perfect because I stored them in a large plastic bin with tissue paper between them.
What I’m Making This Year
I’m planning a eucalyptus and white flower wreath for my front door, and maybe a small ornament wreath for my bedroom. I’m also thinking about making mini wreaths to use as centerpieces for Christmas dinner.
The great thing about making your own is you can make exactly what you envision and change it up every year without spending a fortune.
The Real Secret
Wreaths look more complicated than they are. It’s really just: attach things to a circle until it looks pretty. That’s it. There’s no wrong way to do it.
If you’re nervous, start with something simple – maybe an ornament wreath or a ribbon wreath. Once you see how easy it is, you’ll probably want to make more.
Your first one might not be perfect, and that’s completely fine. It’ll still look good on your door and make you smile every time you come home. Plus, you made it yourself, which automatically makes it special.
So grab a wreath form, turn on some Christmas music, and hot glue some stuff to it. That’s basically the whole process. You’ve got this!