With the holiday season just around the corner, it’s the perfect time to start thinking about decorations that will add a festive and unique touch to your home. One trendy and creative option is paper honeycomb ornaments. These charming, vintage-inspired decorations are not only visually stunning but also incredibly versatile—they can be hung on Christmas trees, used as garlands, or even incorporated into table settings. In this blog post, we’ll guide you through the process of making your own paper honeycomb ornaments, offering ideas to personalize them for a truly magical holiday look.
Table of Contents
Materials You’ll Need
Before diving into ideas and step-by-step instructions, gather the following materials:
- Colored or patterned paper (tissue paper, cardstock, or lightweight paper works well)
- Scissors
- Glue stick or double-sided tape
- A pencil
- Template for your chosen shape (circle, bell, tree, etc.)
- String or ribbon for hanging
- A paper clip (optional, for holding while the glue dries)
if you are unsure what you want to create, we collected some of the best ideas what to craft with the honeycomb technique:
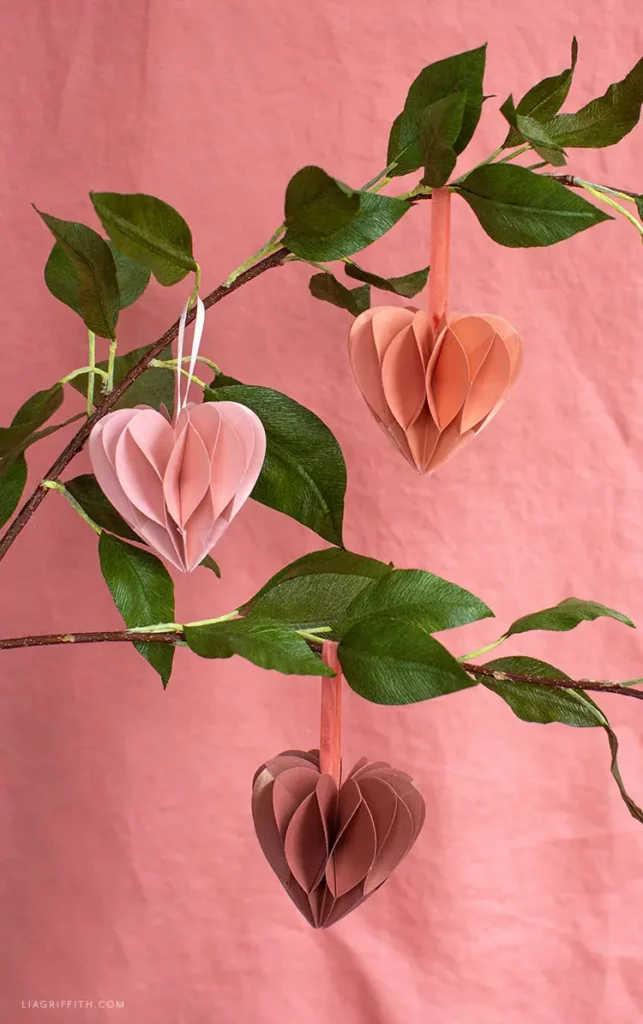
1. Heart Shaped Ornaments
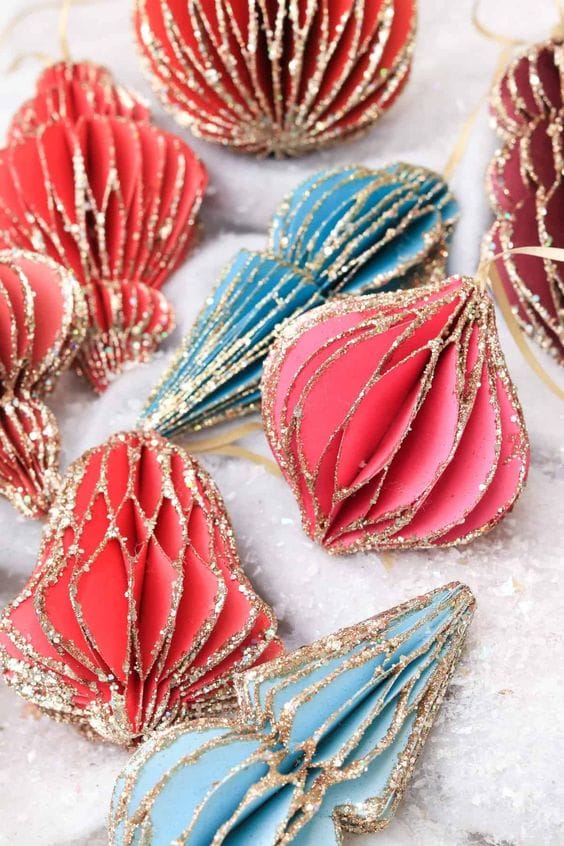
2. Add Glitter to the Rim
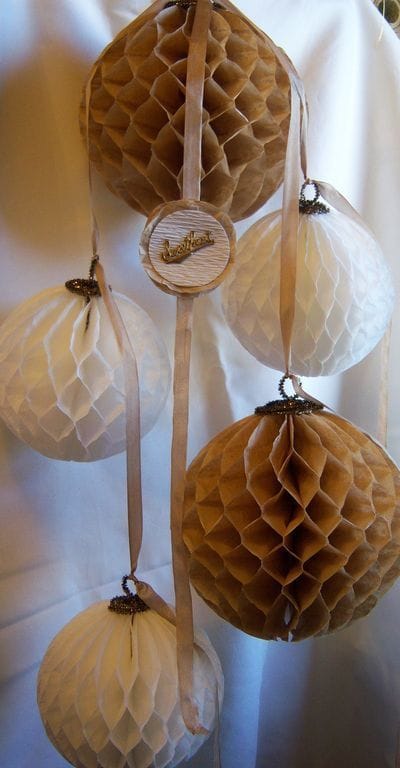
3. Coffee Filter Paper
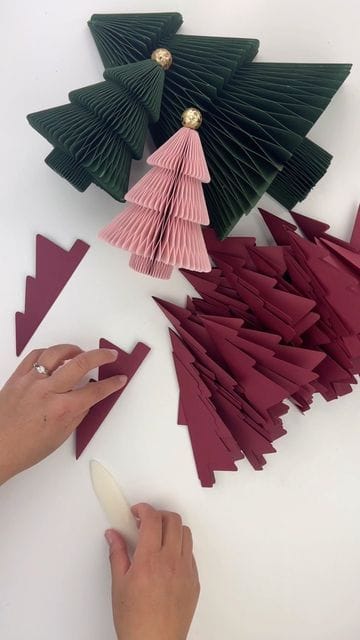
4. Christmas Trees
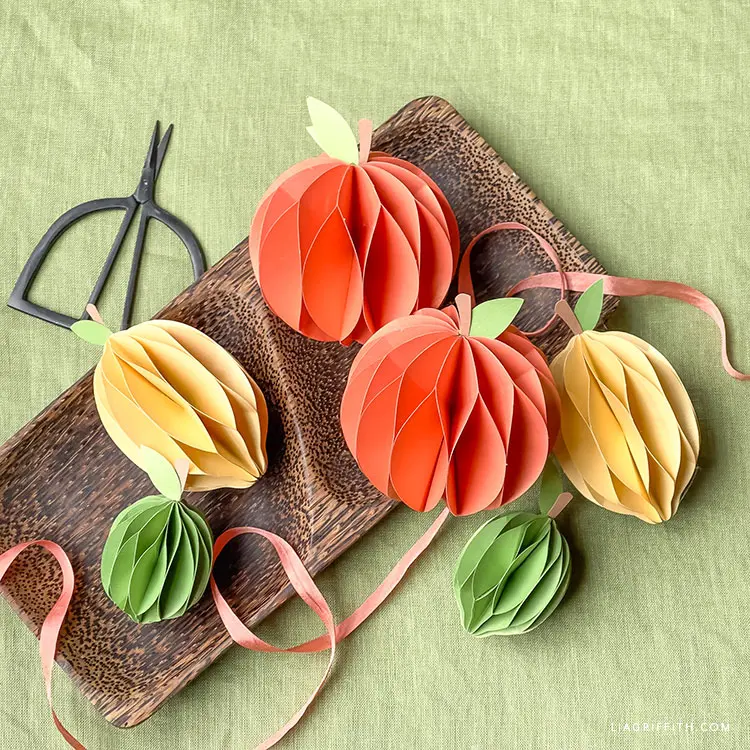
5. Fruits
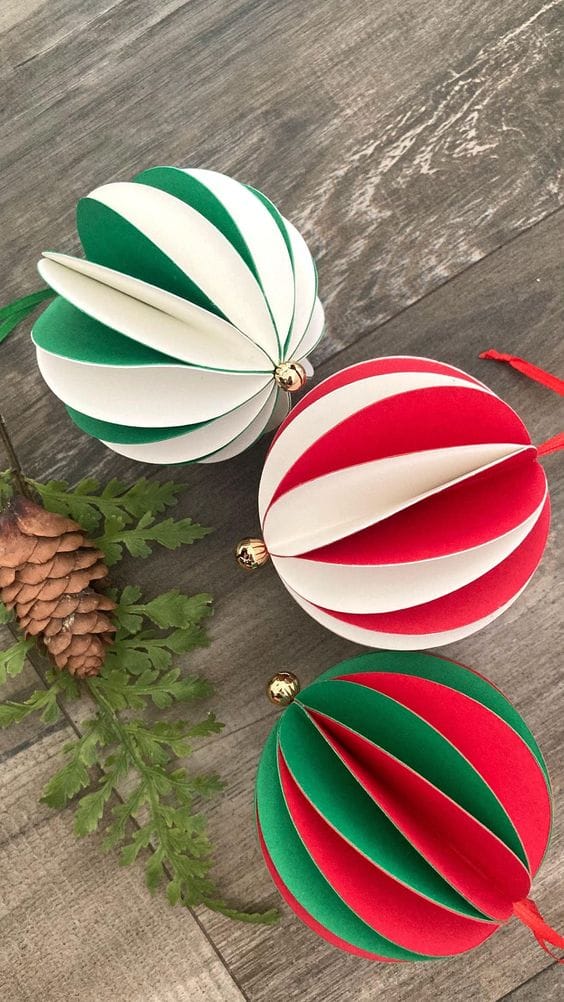
6. Duo Tone
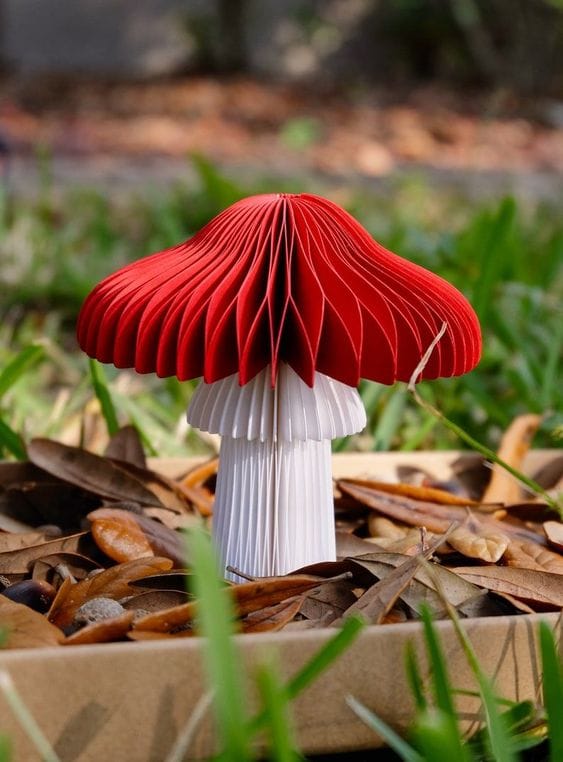
7. Mushrooms
8. Go Big

9. Animals
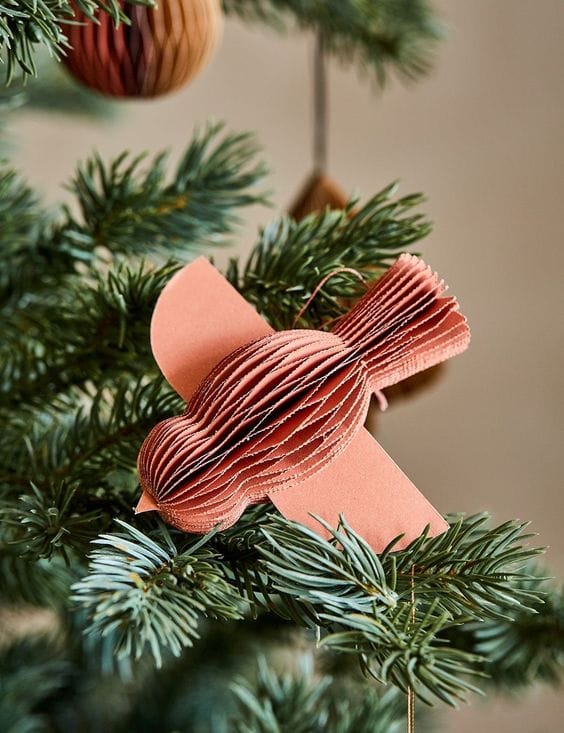
10. Add Beads
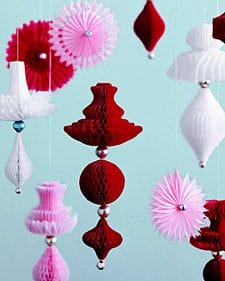
11. Candy
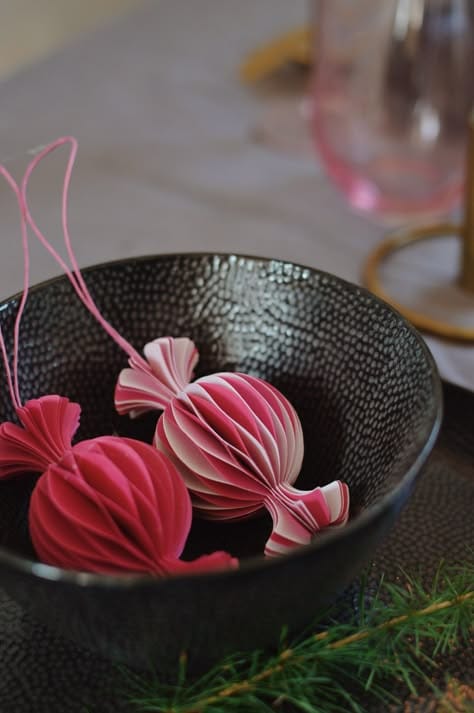
12. Size Variation

How to Make Paper Honeycomb Ornaments: Step-by-Step Guide
This video by Elena Caratnic explains step by step how to create honeycomb ornamenta:
1. Choose Your Design and Paper
Start by deciding on the shape of your ornament. Circles are a classic choice, but you can also make bells, stars, or even Christmas trees. Choose paper in colors that fit your holiday theme—bold red and gold for a traditional look, or silver and white for a more modern winter wonderland feel.
2. Create Your Template
If you’re making a simple round ornament, you can skip the template step and use any circular object to trace. For other shapes, draw or print a template of your desired design (a bell, star, or tree). The template should be symmetrical since you’ll be folding the paper in half.
3. Cut Out Your Paper Shapes
Fold your paper several times to create multiple layers, and use your template to trace the shape onto the top layer. Then, cut through all the layers at once. Depending on the size of your ornament, you’ll need around 20–30 cutouts for a full honeycomb effect.
4. Fold Each Shape in Half
Fold each of your cutouts exactly in half, pressing down firmly to create a sharp crease. This step is crucial as it will help the honeycomb structure come together smoothly.
5. Start Gluing the Layers
Apply glue (or double-sided tape) to one half of a folded cutout and attach it to another folded cutout, aligning the edges perfectly. Continue adding glue to each new layer, sticking them together until all your pieces form one half of the ornament.
6. Create the Honeycomb Effect
Once you’ve glued all your pieces together, fan out the ornament to see the honeycomb effect. At this point, you can decide whether to glue the first and last pieces together to form a complete sphere or leave it half-open (for example, if you’re making a flat ornament to hang against a wall or window).
7. Add a String for Hanging
Cut a small length of string or ribbon and glue it in between the top layers of the ornament before closing it completely. This will be your hanging loop.
8. Let It Dry and Fluff It Up
If needed, use a paperclip to hold the glued layers together while they dry. Once fully dry, gently separate the layers to give the ornament its signature honeycomb appearance. Fluff and shape it until you’re happy with the look.
Where to Use Paper Honeycomb Ornaments
Once you’ve made a few of these delightful decorations, there are many creative ways to use them:
- Christmas Tree Ornaments: Hang honeycomb ornaments from your tree to add a modern, geometric touch to your traditional decor.
- Garlands: String together multiple honeycomb ornaments for a festive garland to drape over your mantle, doorway, or window.
- Table Decor: Use larger paper honeycombs as centerpieces for your holiday dinner table. Place them on the table along with candles and greenery for a chic and festive look.
- Gift Toppers: Attach small honeycomb ornaments to gift packages as an eye-catching topper that can double as a keepsake.
Conclusion
Paper honeycomb ornaments are a beautiful, versatile, and eco-friendly way to add a personal touch to your holiday decor. Whether you’re looking to create classic round ornaments or experiment with more elaborate shapes, the honeycomb effect brings a delicate and festive feel to any space. The best part? You can make them with simple materials you likely already have at home. So, this holiday season, get crafty with paper honeycomb ornaments and watch your home transform into a cozy winter wonderland!